XQ Secure Chat Tutorials
XQ Secure Chat
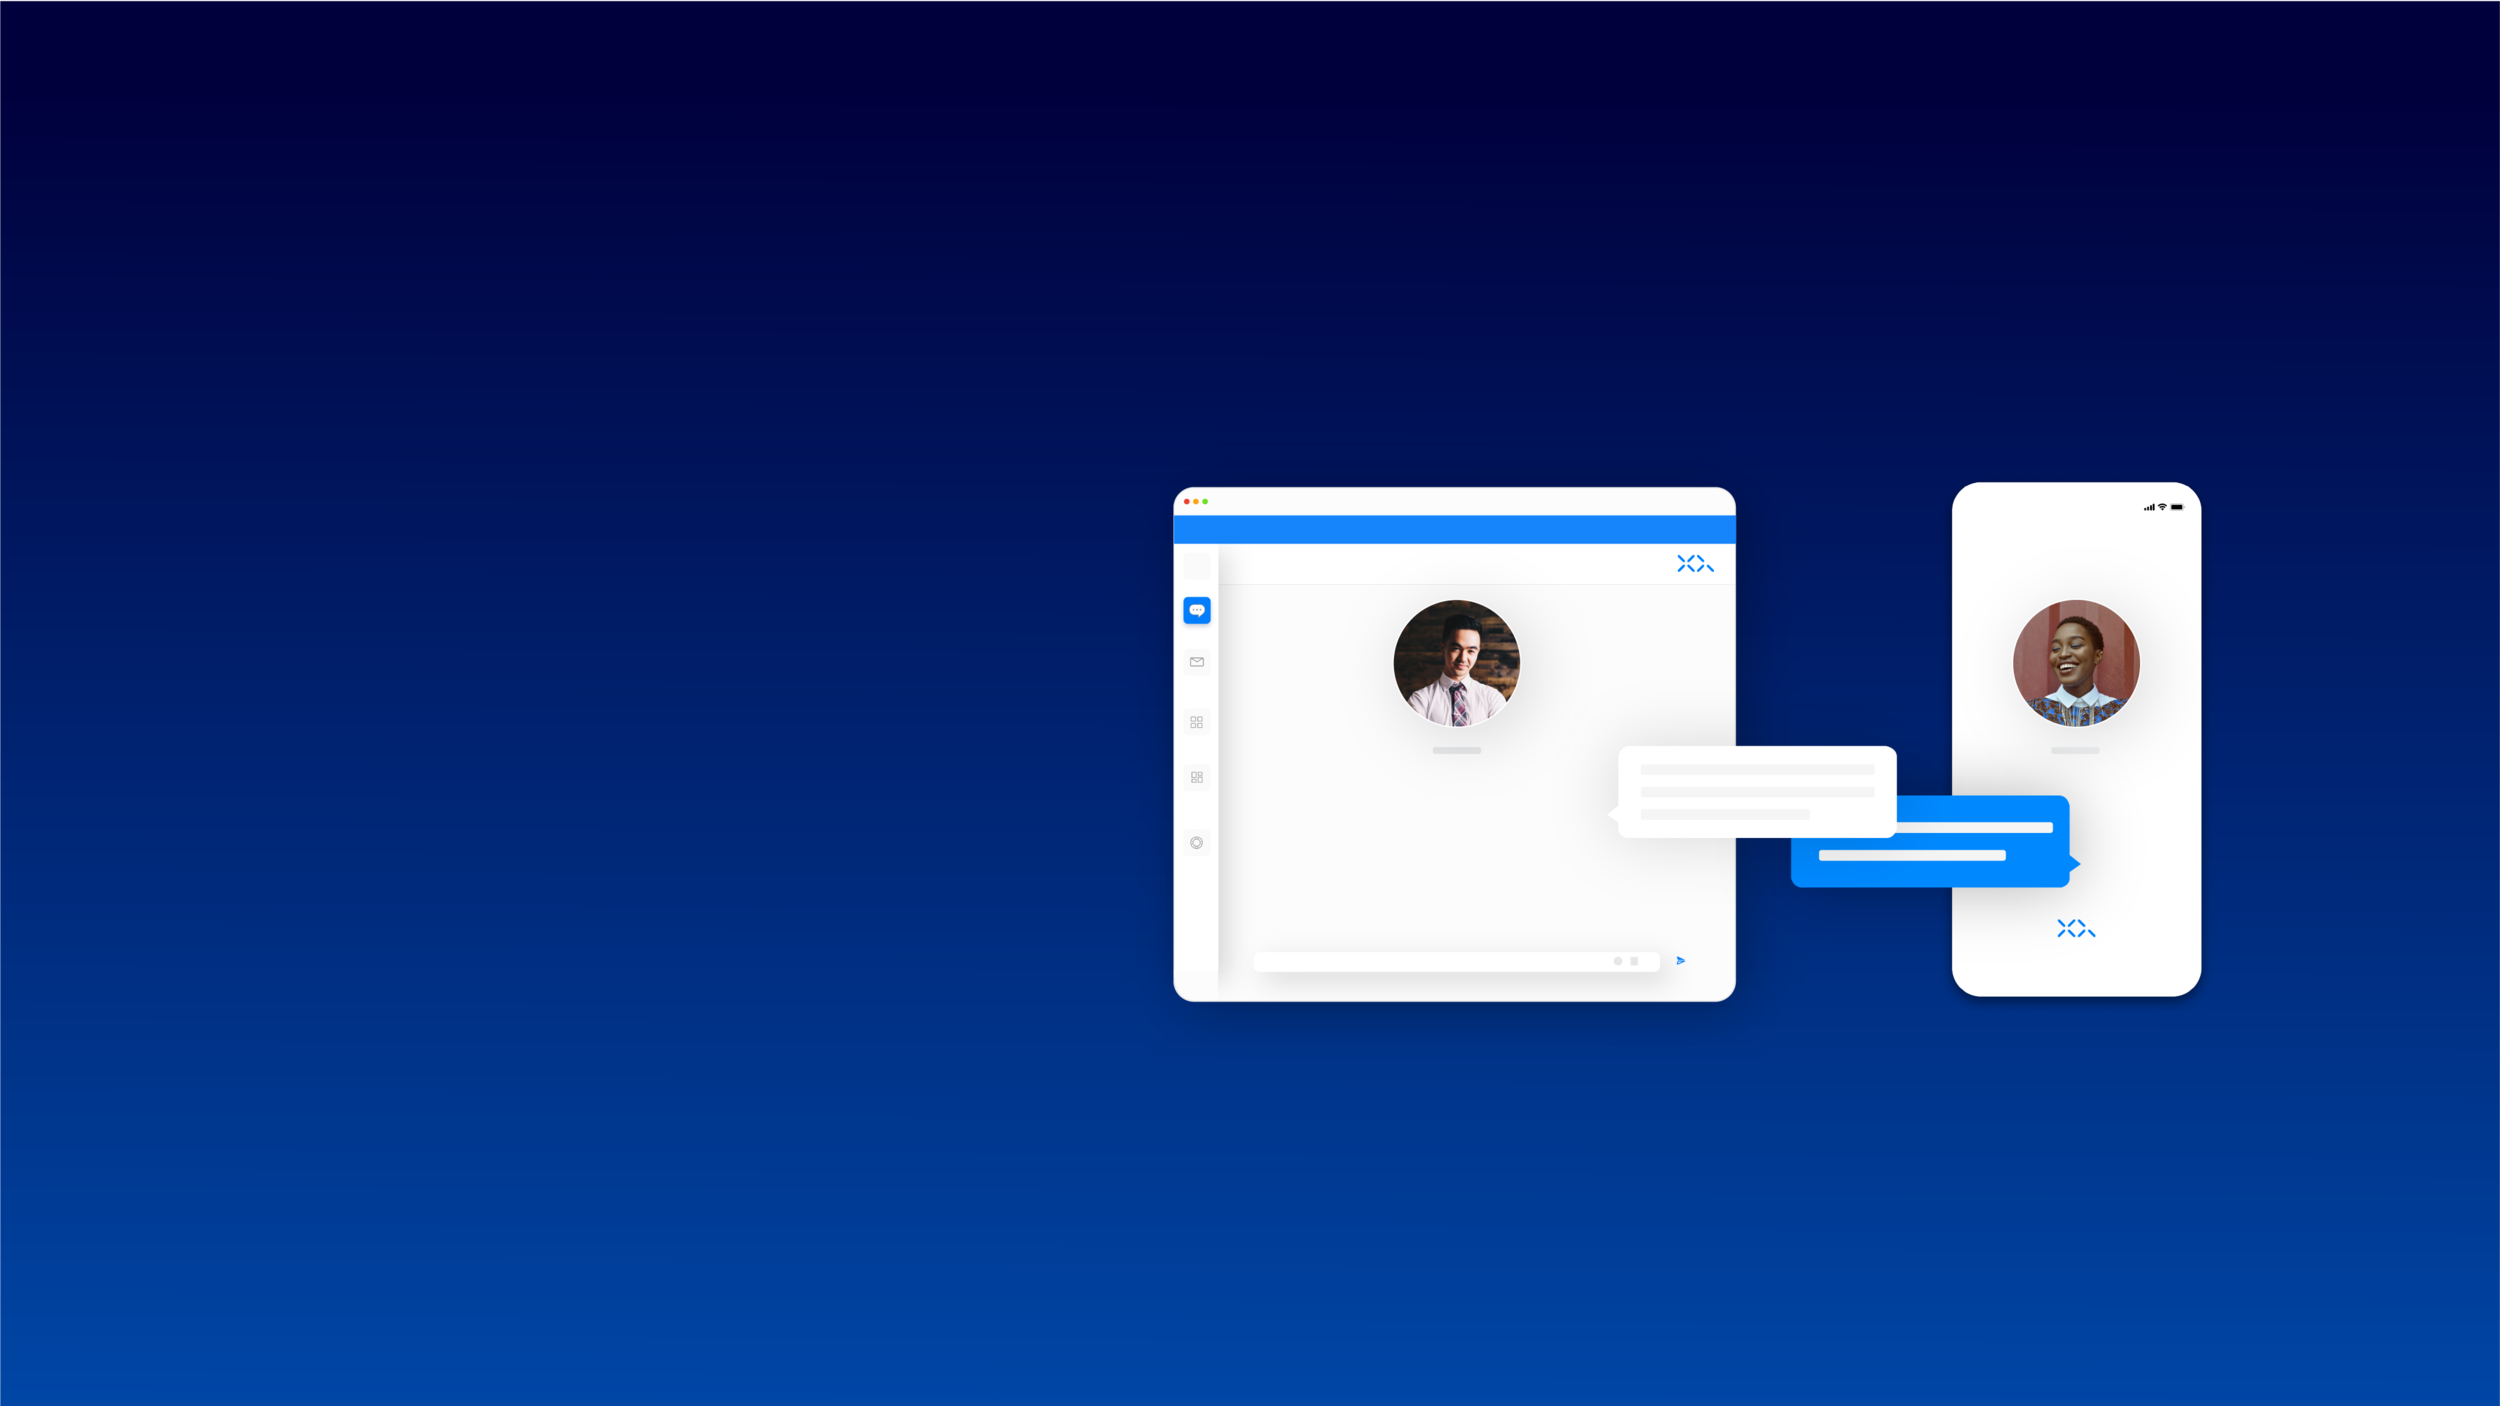
XQ Secure Chat Is A Breakthrough In Secure Messaging. It Is The First Zero-Trust Chat That You Can Load Directly From Your Site Or Integrate Into Your Existing Application.
Introduction to XQ’s Secure Chat
To get started, go to secure dot chat and login. While using XQ’s secure chat, you will be able to easily send end-to-end messages to your co-workers, clients and vendors. XQ enables cross platform messaging over unsecured networks allowing you to own your communication data and collaborate in confidence.
XQ’s technology provides unprecedented Data Control letting you own and control your data every step of the way for true data provenance. Each message and file is encrypted with a seperate quantum resistant key generated on your device, providing a unique level of protection. Because of this, we can log when, where and who reads your data for GDPR, HIPAA and other compliance requirements.
Best of all with XQ Secure Chat you can offer conversational support and eliminate friction while speaking privately to co-workers, customers, clients, and vendors.
How to invite users to chat
Navigate to secure dot chat. Use the Google Single Sign In or Enter your email to login and click send me magic link. Open your email with the magic link and click on it to enter secure chat. When asked for a screen name enter your chosen nickname, name and click enter. Click the pen icon button to chat and enter the email addresses of your invitees. Invitees that are part of your XQ teams will appear in a drop down below the field for easy addition. They will receive an email to enter the chat after you send your first message to the chat. This invitation will expire in 24 hours. In fact, within secure chat all messages expire after 24 hours. Chat threads themselves expire 24 hours after the last message was sent. When chat’s expire the keys to those messages are permanently destroyed. They can never be recovered or leaked. Use XQ to invite co-workers, customers, clients, and vendors to chat privately.
How to send a message
After logging in at secure dot chat clicking the pen icon button to invite participants to a new chat. Now you can enter the email addresses of your invitees. Invitees that are part of your XQ teams will appear in a drop down below the field for easy addition.
They will receive email invitations to join chat after you send the first message to the chat. Each message is encrypted separately with its own key for a new level of security. Clicking the send button encrypts your message and sends it to the participants where it is decrypted for them to view. At the bottom of the chat, there is a file attach button where you can attach any file or image securely. Each file and image are also encrypted with a unique secure key which expires. All chats and messages will expire and ‘disappear’ after 24 hours providing an ephemeral chat experience and preserving privacy. Now you can start sending messages securely.
How to delete messages and attachments
After logging in, sending invitations to secure chat, and messaging your recipient, you have the option of deleting messages and attachments before the 24 hour time frame has passed and they naturally expire. On the right hand side of the chat, you will have access to various conversations hovering over the conversation three vertical dots will appear. Click on the dots and click delete conversation to permanently delete the entire chat and its attachments. At this point all keys relating to the chat thread are permanently deleted and can not be recovered. However, if you want to delete only individual messages and attachments you can also hover over the message or attachment you want to delete, and you will see three vertical dots. Click on those and you can press delete to remove the individual message or attachments. The message or file is then deleted for all chat participants and the keys associated are permanently removed.
Ideally, use XQ to invite co-workers, customers, clients, and vendors to chat privately.
How to add team members
By having a verified team, you can ensure that their communication and activities are conducted securely and safely.
Once you have logged in click the workspace button on the left hand side - this will open up the XQ Workspace. Click the team button in the XQ navigation menu. Under team, you will be able to review who is currently provisioned as a team member, what each team member's role is and add new team members.
In order to add new members, you will need to click “add new” on the top left corner. This will open a new window where you will be prompted to add your new team member and all of their information. You can define the user using several roles depending on if they are an employee, customer or vendor. (You can choose if employees have administrative privileges which allows users to see their team's communications or can leave them as a basic user). You will be able to add whether the user is notified of security alerts and notifications.
Once you have filled out all of the required fields, click “create contact” to add your new user. Your team member has now been provisioned - you can now safely and securely send the team member encrypted messages using XQ Secure Chat.
How to add multiple team members
By having a verified team, you can ensure that their communication and activities are conducted securely and safely.
Once you have logged in click the workspace button on the left hand side - this will open up the XQ Workspace. Click the team button in the XQ navigation menu. Under team, you will be able to review who is currently provisioned as a team member, what each team member's role is and add new team members.
In order to add multiple new team members, you will need to click “import” on the top left corner. Here you will be able to bulk upload contacts in various formats. Click “get templates” in order to receive the JSON and CSV file templates required to bulk upload contacts. Open the CSV template from your local file system and input your team members First Name, Last Name, Role, Notifications, Title, Email, and Phone. The role indicates the new user role in the company and must be Admin, User, Vendor, or Customer. Once you have populated the spreadsheet simply drag and drop it in the drop-zone followed by clicking Import. Adding team members allows you to verify all recipients of your communications.
Now you can communicate safely and securely with customers and coworkers.
Didn’t find what you are looking for?
Additional user guide documentation can be found at docs.xqmsg.com/knowledge